Nut Free Granola Bars
Published on August 25, 2021
Quick Summary
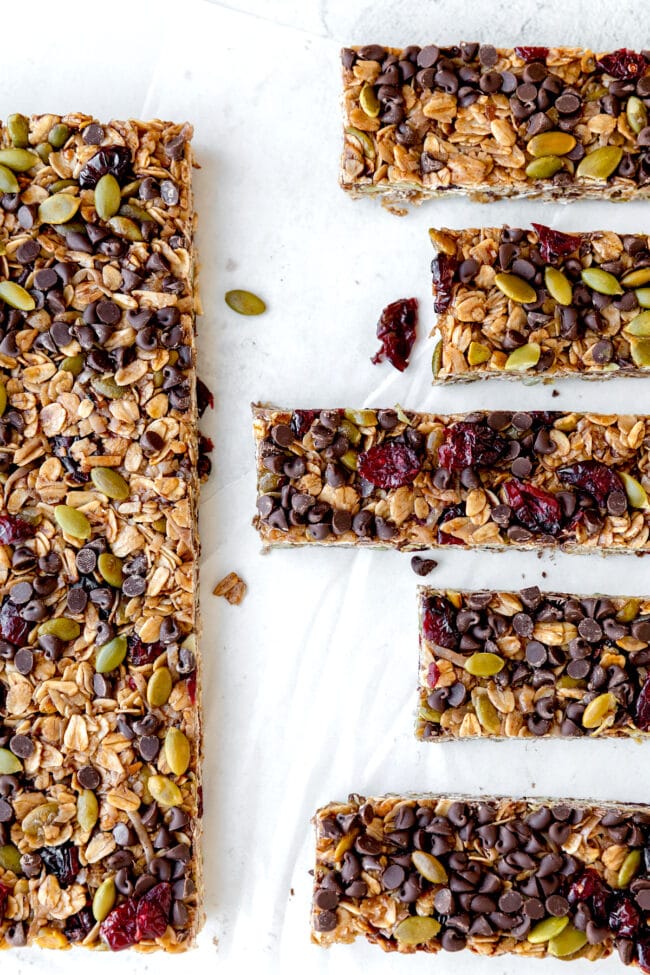
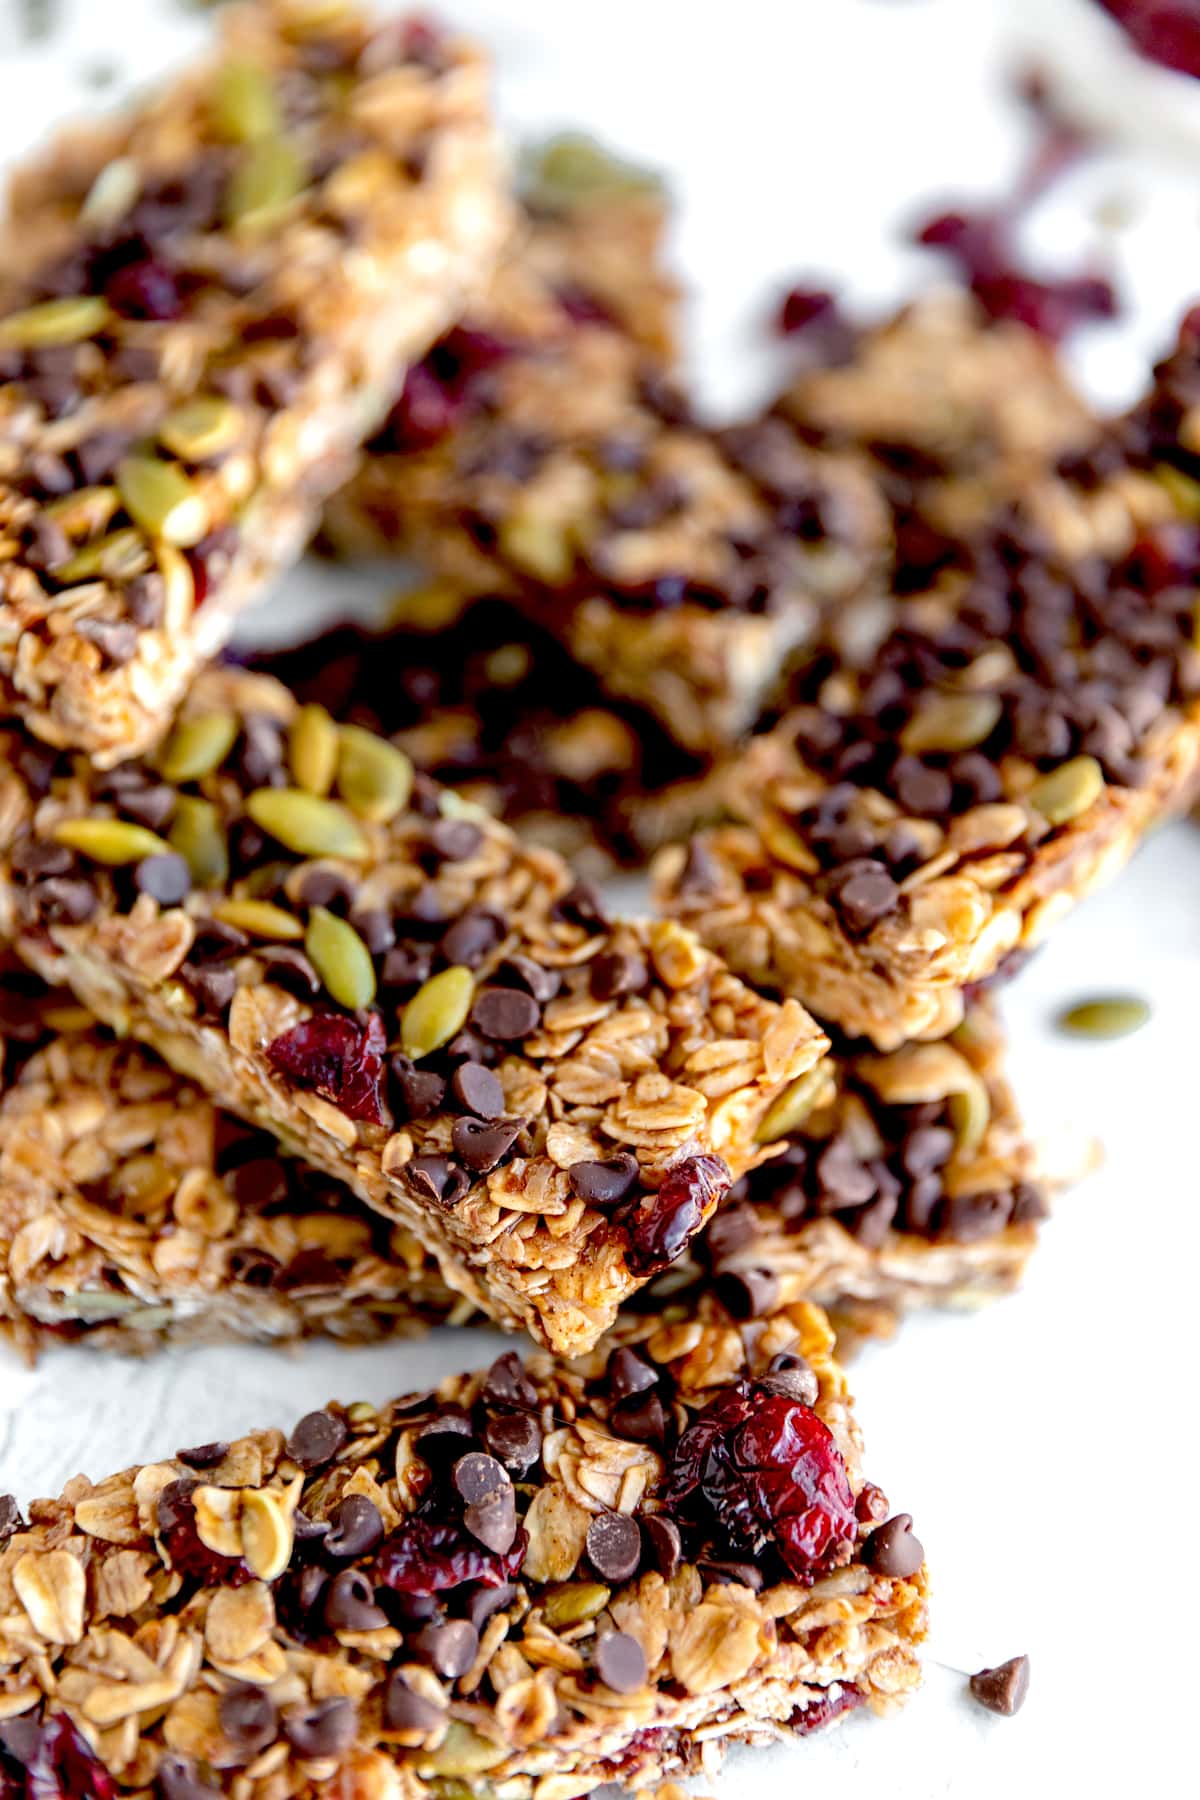
Nut Free Granola Bars-easy homemade granola bars that are nut free, which makes them the perfect school snack and great for anyone with nut allergies. The bars are chewy, sweet, and SO delicious!
Pin this now to find it later
Pin ItI love making homemade granola bars because they are easy to make and taste so much better than store bought. Most granola bar recipes have nuts or nut butter, including my favorite recipe. The only problem? A lot of schools, day cares, and camps don’t allow nuts because of nut allergies so I created a Nut Free Granola Bar recipe that is safe to pack for snacks and lunches.
The granola bars are chewy, sweet, and easy to make. This is a no-bake granola bar recipe, so you don’t even have to turn on the oven! You can whip up a batch in no time!
They make a great breakfast on the go, healthy snack, or even dessert! I love keeping them in the fridge so we can grab a bar anytime of the day. They are a family favorite!
Nut Free Granola Bar Ingredients
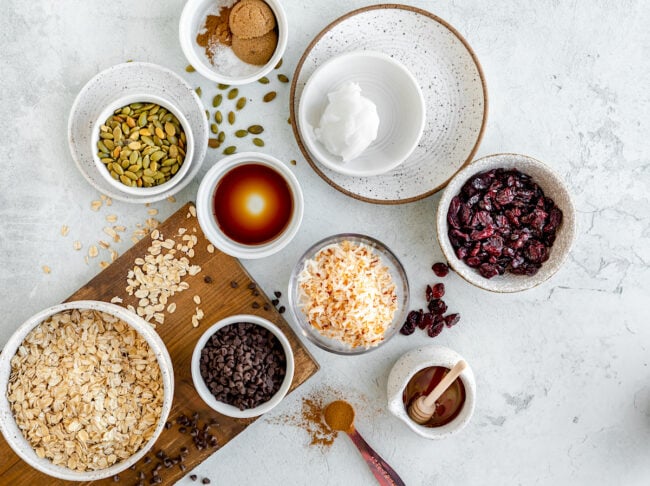
The ingredients are simple and I always have them in my pantry.
- Coconut– I use unsweetened flaked coconut, but sweetened will work too, it will just be sweeter, obviously!:) FYI-coconut is a drupe fruit, not a true tree nut and doesn’t contain nut proteins, but always check with your doctor to make sure you aren’t allergic if you are not sure.
- Oats– old-fashioned or quick oats will work. If you need the bars to be gluten-free make sure you use gluten-free oats.
- Pepitas– pepitas are pumpkin seeds and not a nut so I like to add them for a little crunch.
- Cinnamon– cinnamon is so good in granola bars!
- Sea salt– salt balances out the sweetness!
- Honey– The honey sweetens the bars and helps the mixture stick together.
- Brown Sugar– you only need 2 tablespoons.
- Coconut oil– measure the coconut oil in solid form.
- Vanilla extract– just a splash!
- Dried fruit– you can use raisins, golden raisins, dried cranberries, dried cherries, or even dried blueberries. I usually use cranberries or raisins because that is what my boys like.
- Mini chocolate chips– I like to use Enjoy Life mini chocolate chips. They are are gluten free, wheat free, peanut free, dairy free, tree nut free, soy free, casein free, sulfite free and egg free. Of course, you can leave the chocolate chips out, or use less, but I love me some chocolate:)
How to Make Nut Free Granola Bars
No-bake granola bars are the best because they are SO easy! Even the kids can help make them!
- Line an 8×8-inch pan with parchment paper and spray with nonstick cooking spray. The parchment paper will make it easier to get the bars out of the pan.
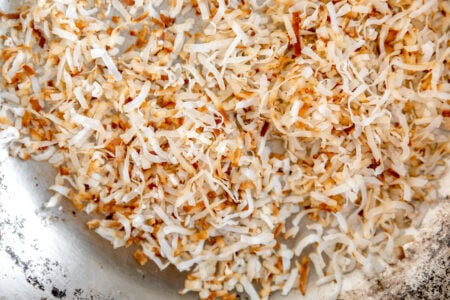
- I like to toast the coconut to bring out the best flavor. You can skip this step, but toasted coconut is the best:) Place the coconut in a small skillet and cook over medium low heat, stirring occasionally, until light brown and toasted. This won’t take long, don’t walk away!
- In a large bowl, combine the toasted coconut, oats, pepitas, cinnamon, and sea salt.
- In a small skillet, combine the honey, coconut oil, and brown sugar. Cook over medium heat until the coconut oil is melted, and the mixture starts to bubble. Remove from the heat and stir in the vanilla extract.
- Pour the mixture over the dry ingredients and stir until the mixture is moistened. Let sit for about 5 minutes so the mixture can cool a little before adding the chocolate chips.
- Stir in the raisins or dried cranberries and ¼ cup mini chocolate chips.
- Transfer the mixture to the prepared pan. Use a spatula to evenly spread the mixture into the pan. Firmly press the mixture into the pan with your clean hands. You can dampen your fingertips or lightly spray them with cooking spray, so it isn’t too sticky. You really want to press the mixture firmly, so the bars stay together.
- Sprinkle the remaining chocolate chips over the top of the bars and gently press them into the top of the bars.
- Cover the pan and refrigerate for at least 2 hours.
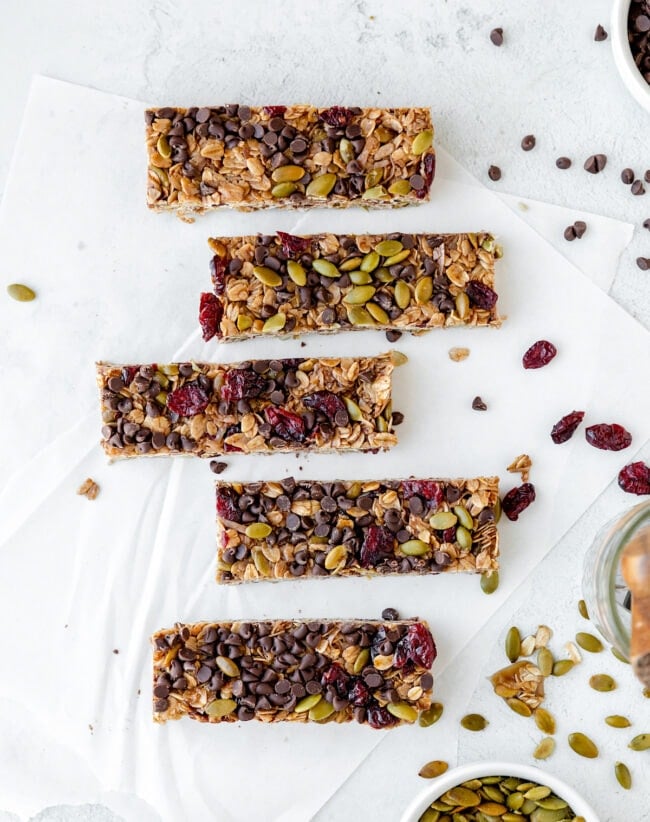
- When the bars are completely chilled, use the parchment paper to lift the bars out of the pan. Cut into bars or squares and enjoy!
How to Store
Store in an air-tight container in the refrigerator for up to 10 days. If you are stacking the granola bars place a piece of parchment between the layers to prevent them from sticking together.
You can also freeze the granola bars for up to 3 months in a freezer bag or freezer container.
More Granola Bar Recipes
- Homemade Granola Bars
- Peanut Butter Pretzel Chocolate Chip Granola Bars
- Almond Granola Bars
- Sunflower Butter Granola Bars
- Biscoff Granola Bars
- Pumpkin Chocolate Chip Granola Bars
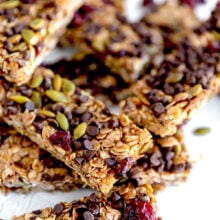
Nut Free Granola Bars
Ingredients
- 1/2 cup unsweetened coconut
- 2 1/3 cups quick oats
- 1/3 cup pepitas
- 3/4 teaspoon ground cinnamon
- 1/2 teaspoon sea salt
- 1/3 cup honey
- 1/4 cup coconut oil
- 2 tablespoons brown sugar
- 1 teaspoon pure vanilla extract
- 1/2 cup raisins or dried cranberries
- 1/4 cup mini chocolate chips, plus 2 tablespoons
Instructions
- Line an 8×8-inch pan with parchment paper and spray with nonstick cooking spray.
- Place the coconut in a small skillet and cook over medium low heat, stirring occasionally, until light brown and toasted. Watch it closely so it doesn't burn.
- In a large bowl, combine the coconut, oats, pepitas, cinnamon, and sea salt.
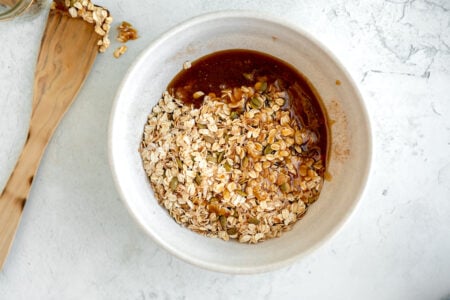
- In a small skillet, combine the honey, coconut oil, and brown sugar. Cook over medium heat until the coconut oil is melted, and the mixture starts to bubble. Remove from the heat and stiir in the vanilla extract.
- Pour the mixture over the dry ingredients and stir until the mixture is moistened. Let sit for about 5 minutes. Stir in the raisins or dried cranberries and ¼ cup mini chocolate chips.
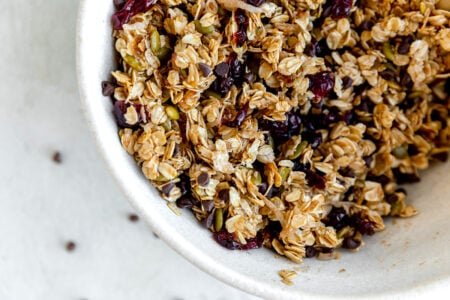
- Transfer the mixture to the prepared pan. Use a spatula to evenly spread the mixture into the pan. Firmly press the mixture into the pan with your clean hands. You can dampen your fingertips or lightly spray them with cooking spray, so it isn’t too sticky. You really want to press the mixture firmly, so the bars stay together.
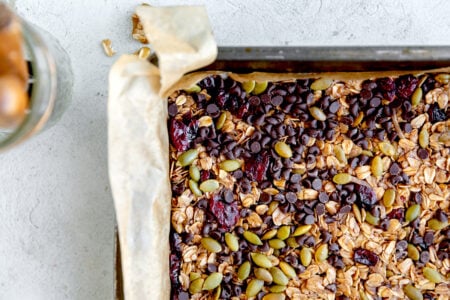
- Sprinkle the remaining chocolate chips over the top of the bars and gently press them into the top of the bars.
- Cover the pan and refrigerate for at least 2 hours. When the bars are completely chilled, use the parchment paper to lift the bars out of the pan. Cut into bars or squares and enjoy!
Notes
Nutrition
Have you tried this recipe?
Leave a comment below and share a photo on Instagram. Tag @twopeasandpod and hashtag it with #twopeasandtheirpod
Photos by In Krista’s Kitchen
What do you suggest using instead of coconut oil?
Do you recommend raw or roasted, salted or unsalted pepitas? Thanks!
Hey, I think the ones in the picture look roasted and unsalted.
Honestly, you can use any variety, whatever you have.
If yours are roasted and salted like mine were, leave the salt out of the recipe.
how is a light olive oil as a sub for coconut oil?
These granola bars turned out perfectly and are absolutely delicious!
Just made these granola bars, and they are great! I would definitely leave out the brown sugar next time. The honey adds plenty of sugar to these bars.
Will be making these again!
Thank you<
Jennifer
Ummm, Isn’t coconut a nut? I’m pretty sure it says nut in the name. Maybe I’m going crazy.
Coconut is actually a fruit:)
Made these for a healthy kids event at our YMCA. They came out great. I wanted to comment that the recipe was not clear. It said that the prep time was 15 minutes. It is actually 2 hours and 20 minutes. Otherwise, it worked great.
If I could give this recipe 10 stars I would. I made these when I wanted a quick snack and have been making them about every 2 weeks since. Definitely a keeper. I live in a country where peanut butter is very expensive, so peanut butter based bars would not work for me. Thank you so much for this recipe!
I am glad you love the granola bars so much!
Couldn’t make these into bars at all, ended up being too crumbly so I am eating it as granola. Can’t fault the taste, absolutely amazing (though a tad sweet, I will try without the brown sugar next time). But I followed the recipe exactly. Even with leaving a heavy object on top to press down as it set, and adding a bit more fat and trying again, it didn’t turn into bars at all. Such a shame as they do taste incredible.
Coconut is a tree nut! These are not nut-free and they are NOT SAFE for folks with tree nut allergies.
That’s not correct, I have a peanut and tree nut allergy and am not allergic to coconut.
These are great! My 8 year old daughter loves them. Her school has a nut-free snack policy and most options at the store are so sugary so I came across these. Super easy to make and delicious!
So happy you love the bars! A great school snack!
Love these except I made them for a school project tommorrow morning and they don’t want to stay together in kind of in a panic any idea how to make them stay together without remaking them thanks.
Did you press firmly in the pan?? Chill them?
SO EASY and SO delicious! I added 2 heaping tablespoons of Tahini to the Coconut Oil/Honey mix. It really helped it to emulsify beautifully and gave it a gorgeous flavour. I also swapped cardamom in for the cinnamon. I couldn’t find any dried berries that didn’t have added sulfites or seed oils, so I skipped those.
These were quick to whip up and even with every ingredient being organic these still work out to way less than what Organic granola bars cost in the store.
I am so glad you loved the granola bars.
Hi! Do these store well at room temp? Or do they need to be chilled?
I keep them in the fridge.
bars remained crumbly even after being kept in the fridge overnight, and would crumble as soon as they were picked up. quite sweet, substituted cranberries for goji berries, but still a nice easy recipe
We make these once week and love them! I will say that they don’t hold together for us very well unless we mix the ingredients together before the mixture has cooled. The chocolate then melts and holds them together better!
Can I use a regular oil instead of coconut oil. Thanks
Yes!
Vraiment délicieuses!!! Kids approved!
Yay!
very tasty but i found them much too sweet, next time will leave out the brown sugar. had hoped to use as a regular snack for kids but maybe more of an occasional treat this time!
I usually like your recipes but I found these granola bars to be overly sweet. I followed the recipe as written.
It is very difficult to find pepitas that have not been processed in a nut facility renduring them useless to those allergic to peanuts and tree nuts.
First time trying these – awesome recipe. Easy and “swap proof”.
I did not add the chips and swapped raisins for cut dried prunes. I swapped a 1/3 cup of the oats for Bob’s Red Mill 10-grain hot cereal mix.
I also toasted the oats, cereal mix and coconut flakes with the coconut oil and the brown sugar (but not the honey!). I prefer the taste of toasted oats to raw ones and this made the mixing really easy afterwards.
10/10 – will repeat and roster this in my sunday meal prep.
Thanks for sharing!